Building an Artificial Sun for Dark Winter Days
There's a special kind of misery that comes from overcast days. You know the sun should be out, your brain expects it, and yet the world sits under a flat grey lid that drains everything of colour and energy. Especially in the Netherlands, where this kind of weather is the rule rather than the exception, it takes a toll on your mental well being.
I'd been meaning to build a proper sunlight lamp for a while, especially since watching the video on a completely overkill artifical sunlight lamp by DIY Perks. Since I didn't have the budget or the skills (or the space) to make such a large project, I wanted to start small and cheap.
What Makes Sunlight Feel Like Sunlight?
Before picking parts, it's worth understanding what we're actually trying to replicate. Sunlight has a few distinct characteristics that other "Sun Light" light panels miss:
Collimation. Sunlight arrives at Earth at almost parallel rays, because they come from so far away. A normal LED panel or light will spread in all directions, reducing in intensity as it spreads out. This can
Colour temperature and spectral quality. The sun at noon is roughly 5500–6000K, and critically, it contains a full, smooth spectrum across visible wavelengths. CRI (Colour Rendering Index) measures how faithfully a light source renders colours compared to a reference. A high CRI is never as good as a tungsten incadescent light, but is the best we can get with regards to producing a wide spectrum of light. This allows the colours of objects around the room to be better represented.
Rayleigh scattering. On a sunny day you're being lit simultaneously by the direct beam and by diffused blue light scattered from the atmosphere. This is caused by a phenomenon of Rayleigh Scattering, where blue light gets scattered away in directions, as light hits particles with a size much smaller than its wavelength. It's also the reason sunsets turn red (light travels through more atmosphere to get to you, thus more blue light gets scattered away and you're left with a pleasant red hue).
Components
20W 6000K High-CRI LED (CRI 95+)
The heart of the build. I went with a 6000K emitter for a reason: 6000K sits right in that "bright noon sun" territory. The CRI 95+ rating matters a lot here. Although a LED will never reproduce the wavelengths of light of the sun, this is as best as we can get it at a reasonable price.
20W is substantial for a single emitter. It produces around 2500 lumens, which I thought was enough (but later found out could still be more!)
Constant Current Power Supply
LEDs are current-driven devices. That's why we need a constant current DC power supply. This was just a cheap one I found on aliexpress, nothing too fancy here.
CPU Cooler
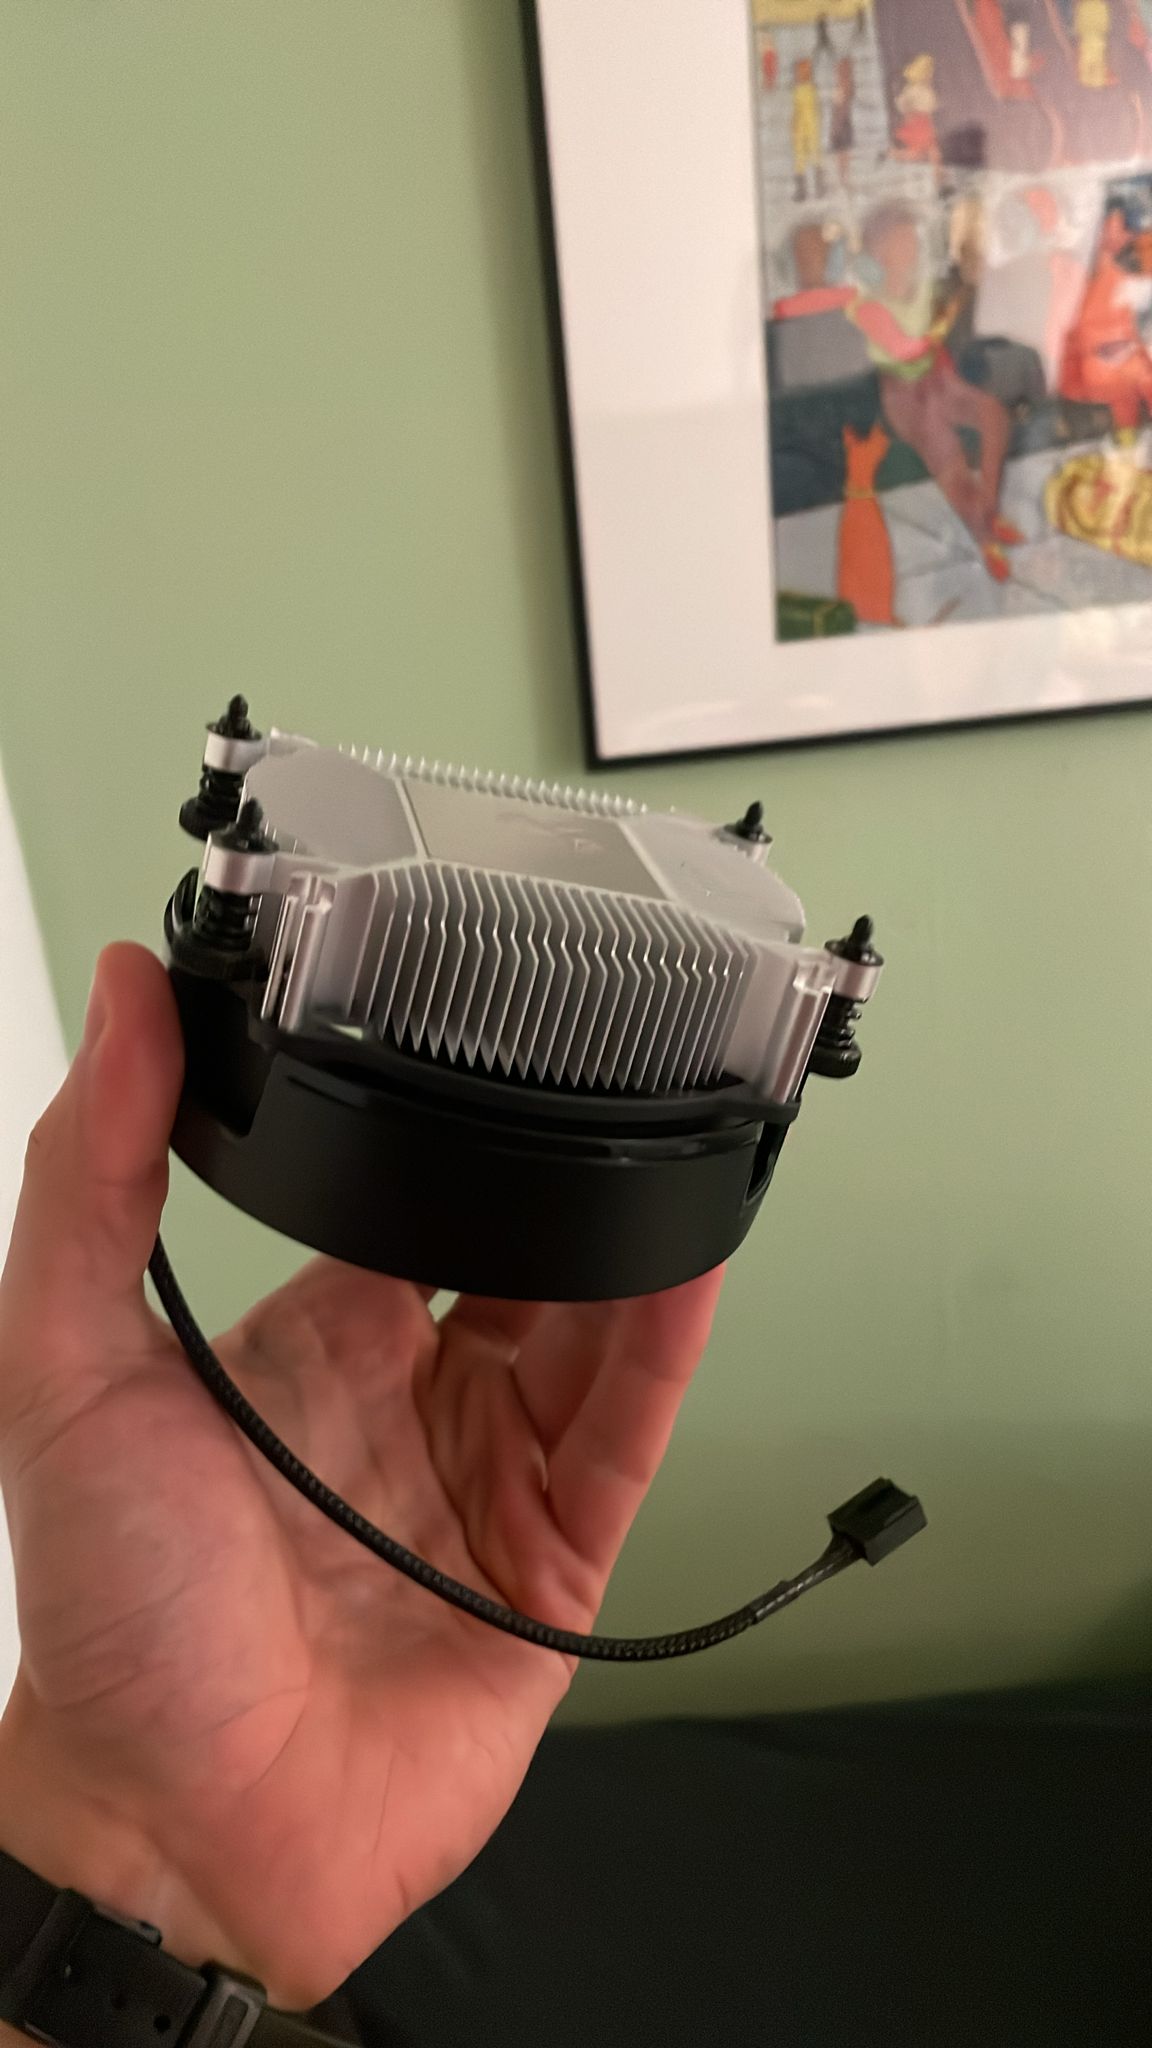
A 20W LED in 2cmx2cm package generates quite a lot of heat. (Potentially found this out by turning it on and seeing smoke the first time) Without enough cooling, you risk burning out the LED or reducing its lifespan.
There are some dedicated LED coolers but since this was prototype 1 I decided to use an old CPU cooler I found in a drawer.
A CPU cooler might be a little overkill for this project since they're made for much higher watt CPUs (up until around 50W), I figured a little overkill couldn't hurt, since we probably wouldn't mount the LED properly to the cooler anyways.
Fresnel Lens
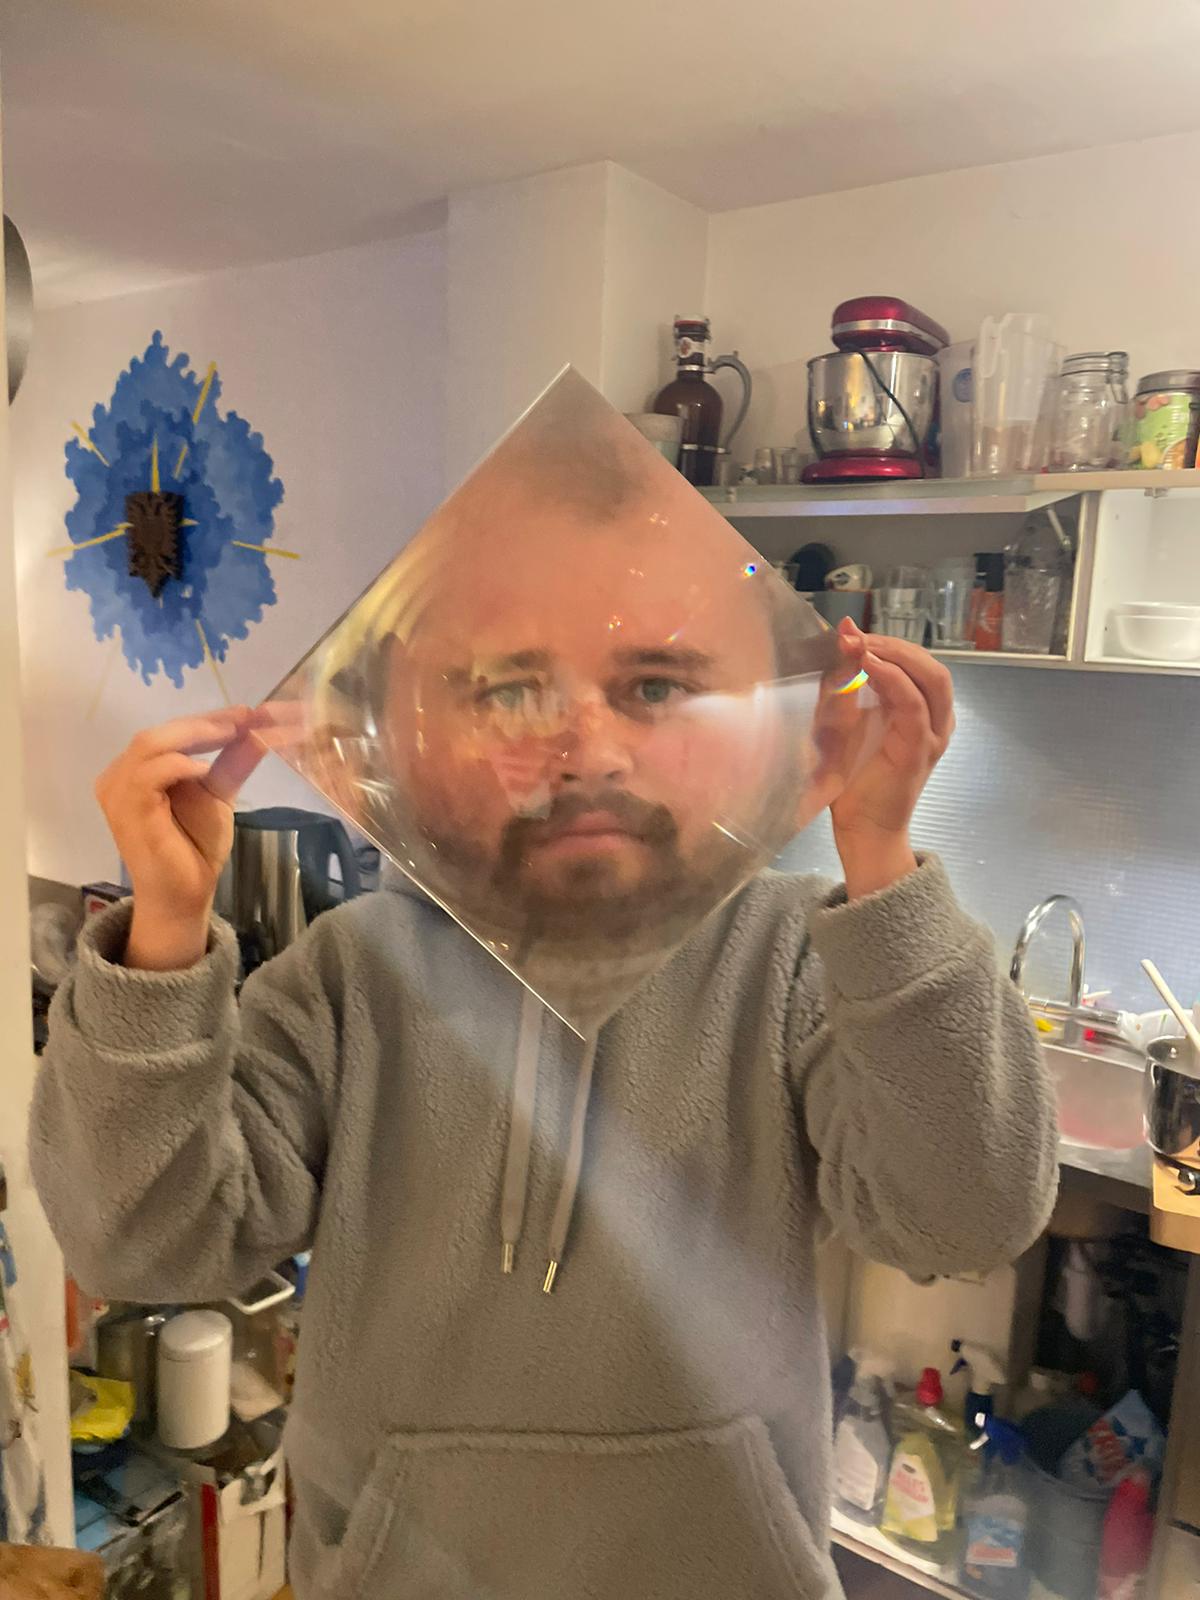
This is the component that changes the build from just a "bright lamp" to something that feels more like sunlight.
A Fresnel lens is a thin, lightweight flat lens with concentric grooved rings that approximates the geometry of a much thicker conventional lens. Place a light source at the focal point (330mm from the lens, in this case), and the lens collimates the light (bends all the diverging rays into parallel beams).
Since the beams will be collimated, the size of the lens is the size of the light you will get as output, which is why I though the 300mm × 300mm size gives a reasonable beam (also because it was the only one available to ship quickly).
Waterproof Inkjet Paper (Rayleigh Scattering)
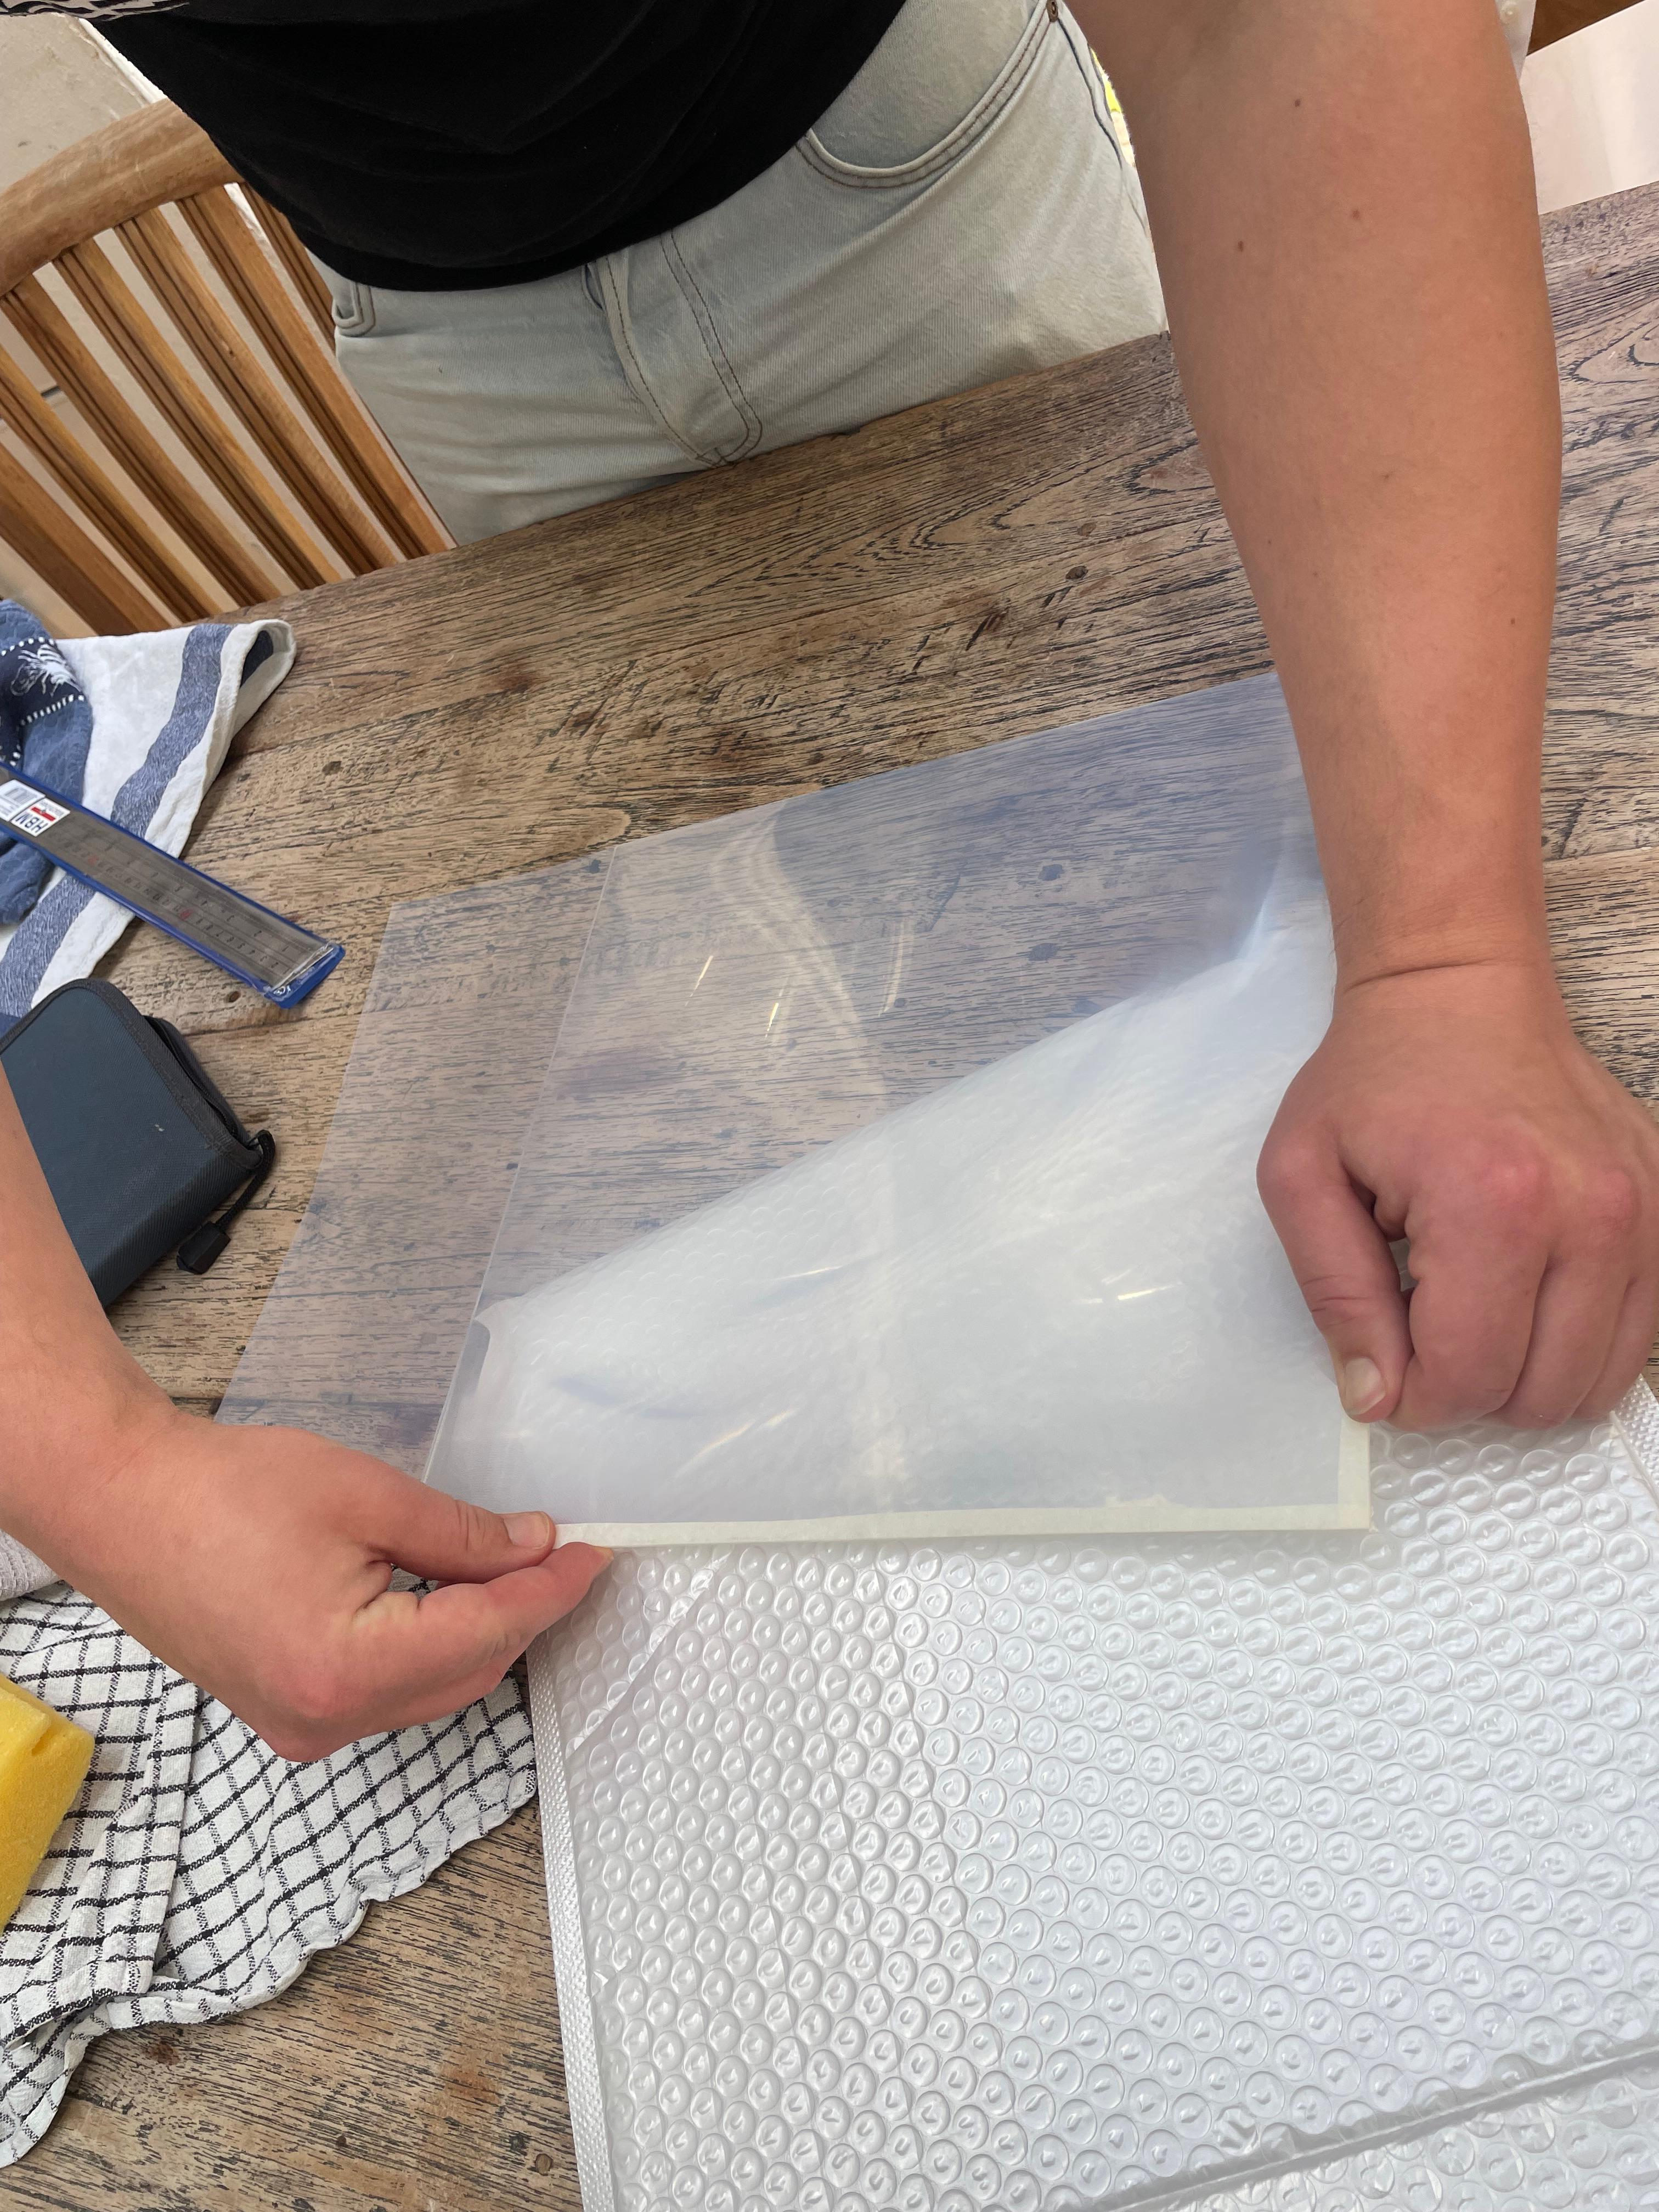
I know it sounds strange, but apparently this inky blue printing paper stuff is very important for an artificial sun lamp. First a bit of background on what we want to achieve with it:
Rayleigh scattering is the phenomenon responsible for blue skies. When light passes through a medium with small particles (much smaller than the wavelength of light), shorter wavelengths (blue, violet) scatter much more than longer wavelengths (red, orange). The sky looks blue because we see the scattered short-wavelength light from the sun hitting atmospheric particles.
Waterproof inkjet paper has a coating designed to absorb ink droplets without spreading. That coating layer contains particles in the right size range to produce Rayleigh-like scattering when light passes through it. Two layers placed in front of the collimated beam produce a visible blue tint in the scattered halo around the beam, emulating the effect of the atmosphere.
This wasn't my idea, and I based it off of the DIY Perks forum, where people mentioned it was one of the best priced and easy to use methods for rayleigh scattering (Thanks!).
The Build
The assembly is straightforward once the design is complete.
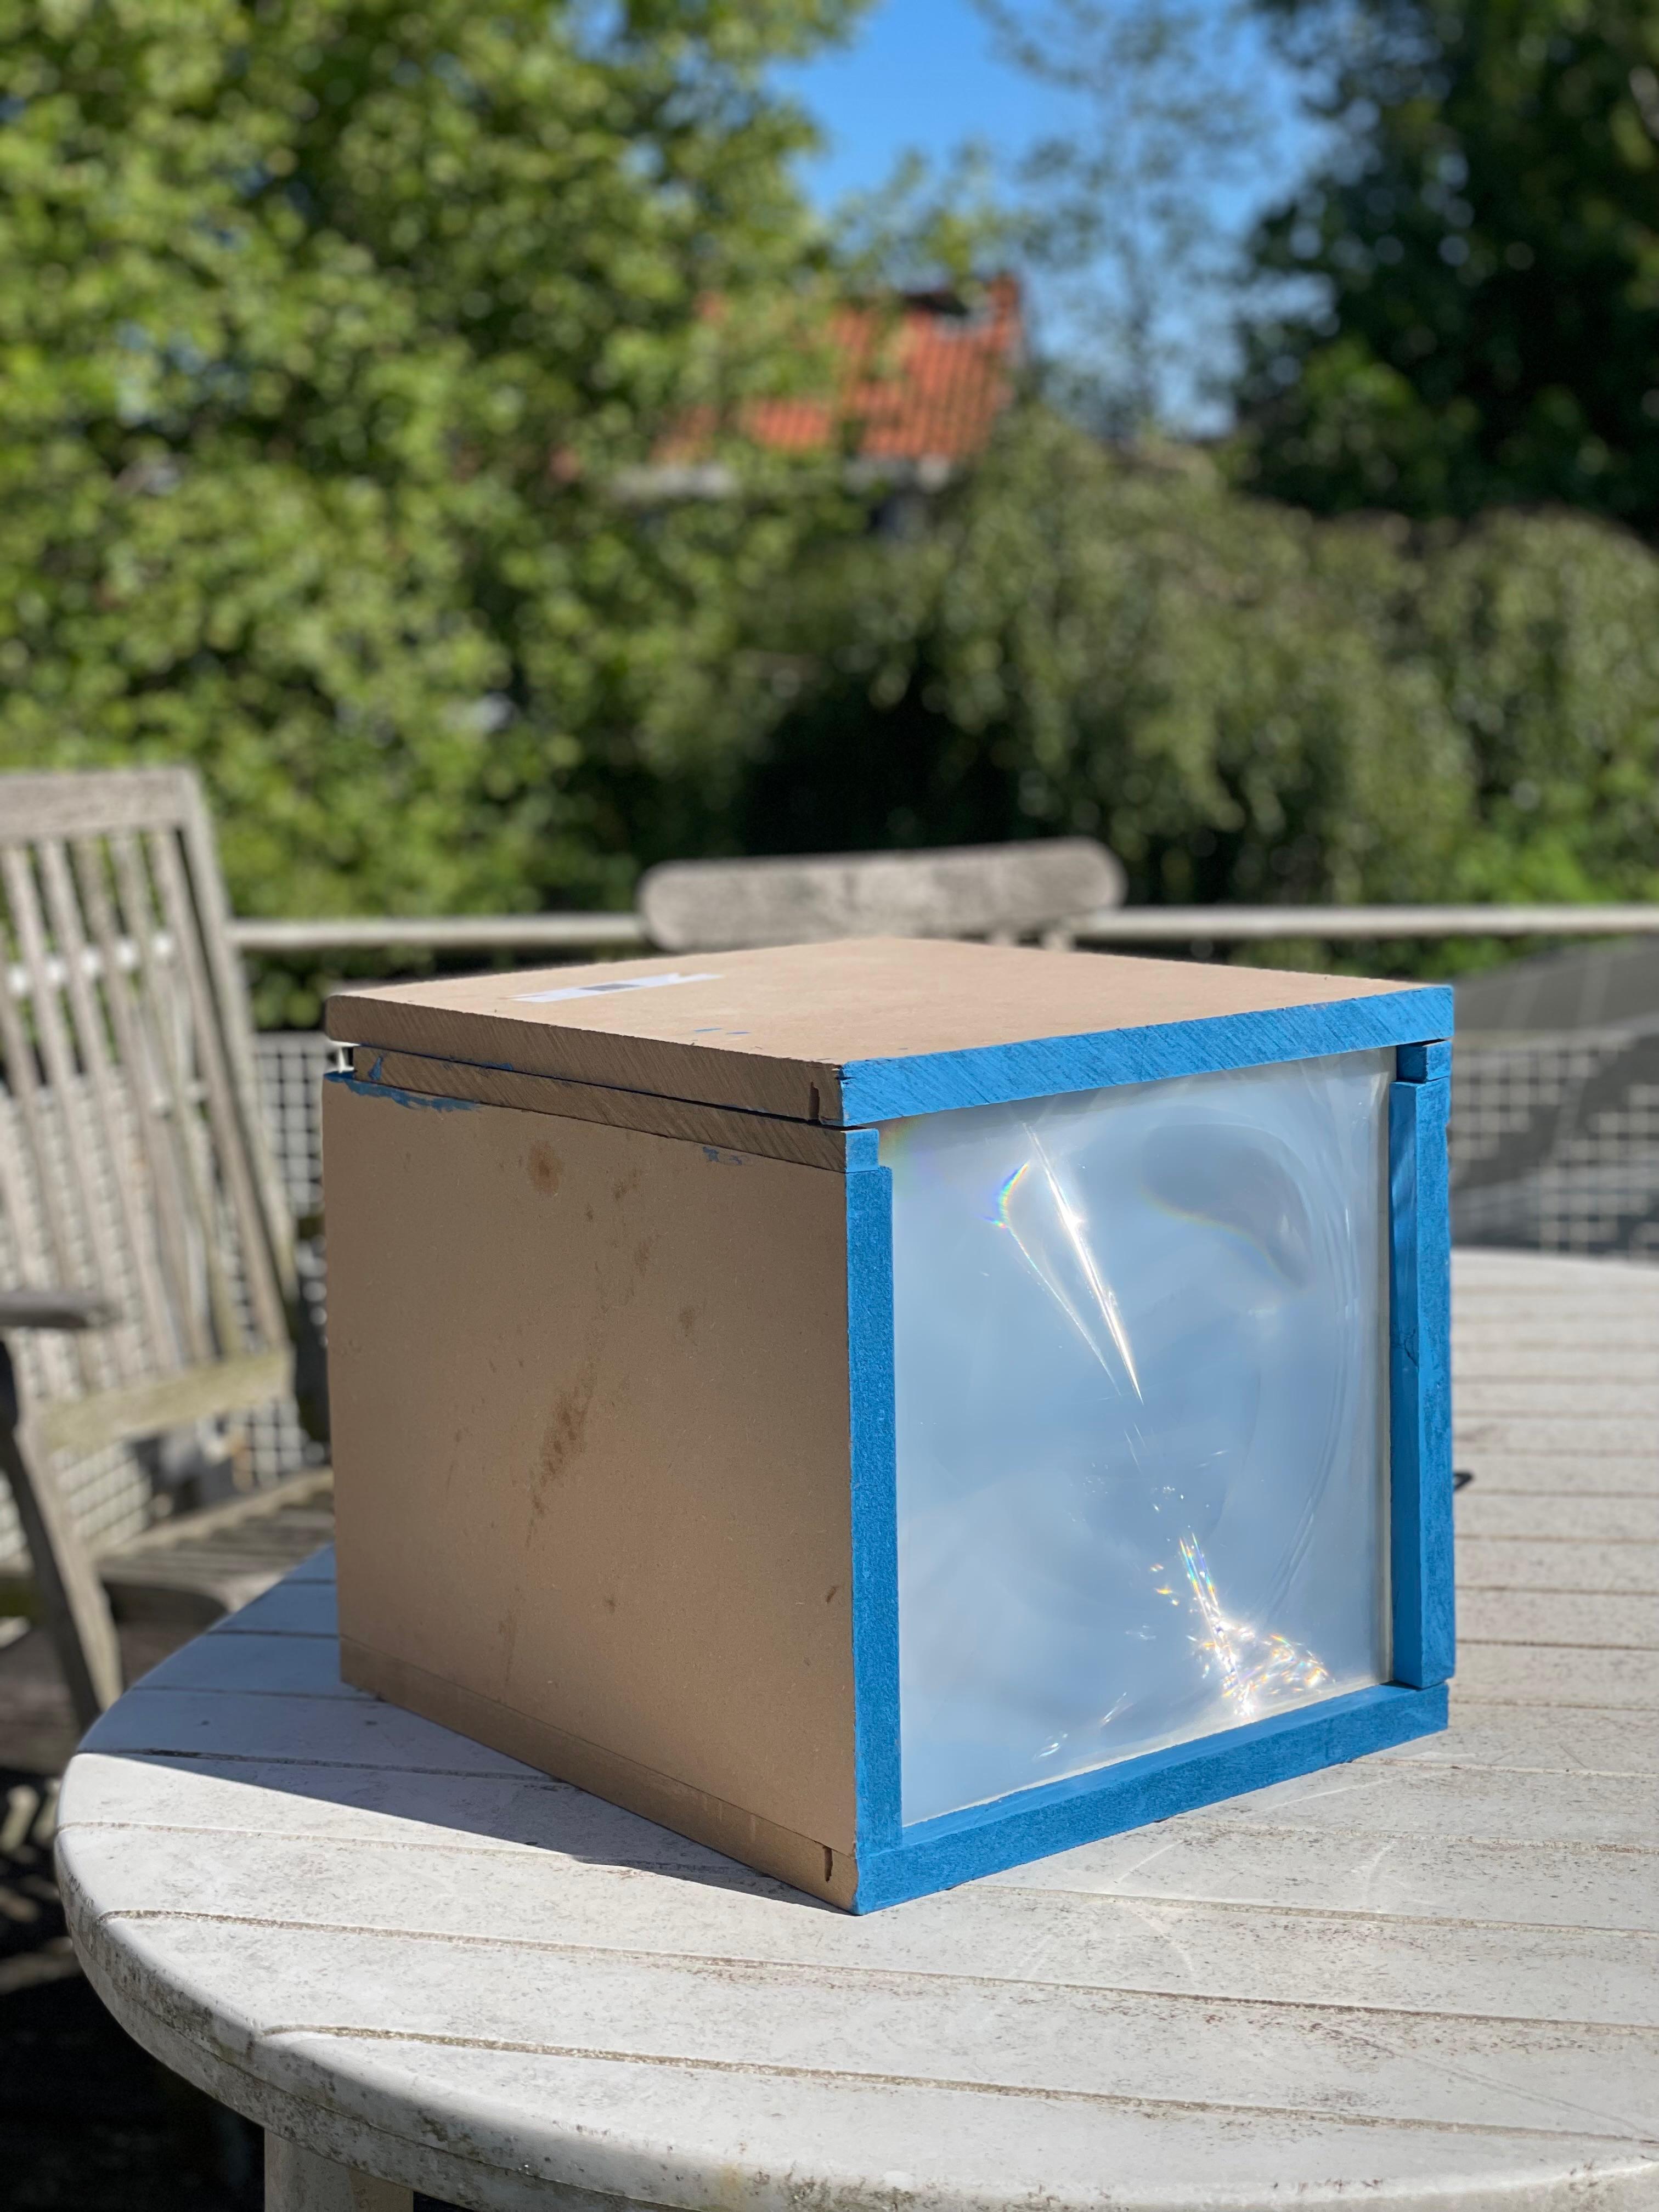
The LED PCB mounts to the CPU cooler with a sliver of residual thermal paste and a 3D printed mount which probably doesn't mount with enough pressure. (But remember, overkill cooler!) The power supply connects to the LED leads, and then the whole assembly sits inside a wooden box with the Fresnel lens mounted at the front face. A 3D printed mount positions the LED exactly 330mm behind it. A small amount of adjustment in this distance lets you tune the collimation, which can be a bit finicky.
The Rayleigh scattering paper sits against the inside of the Fresnel lens at the front aperture. Two layers gives a noticeable effect without killing too much transmission.
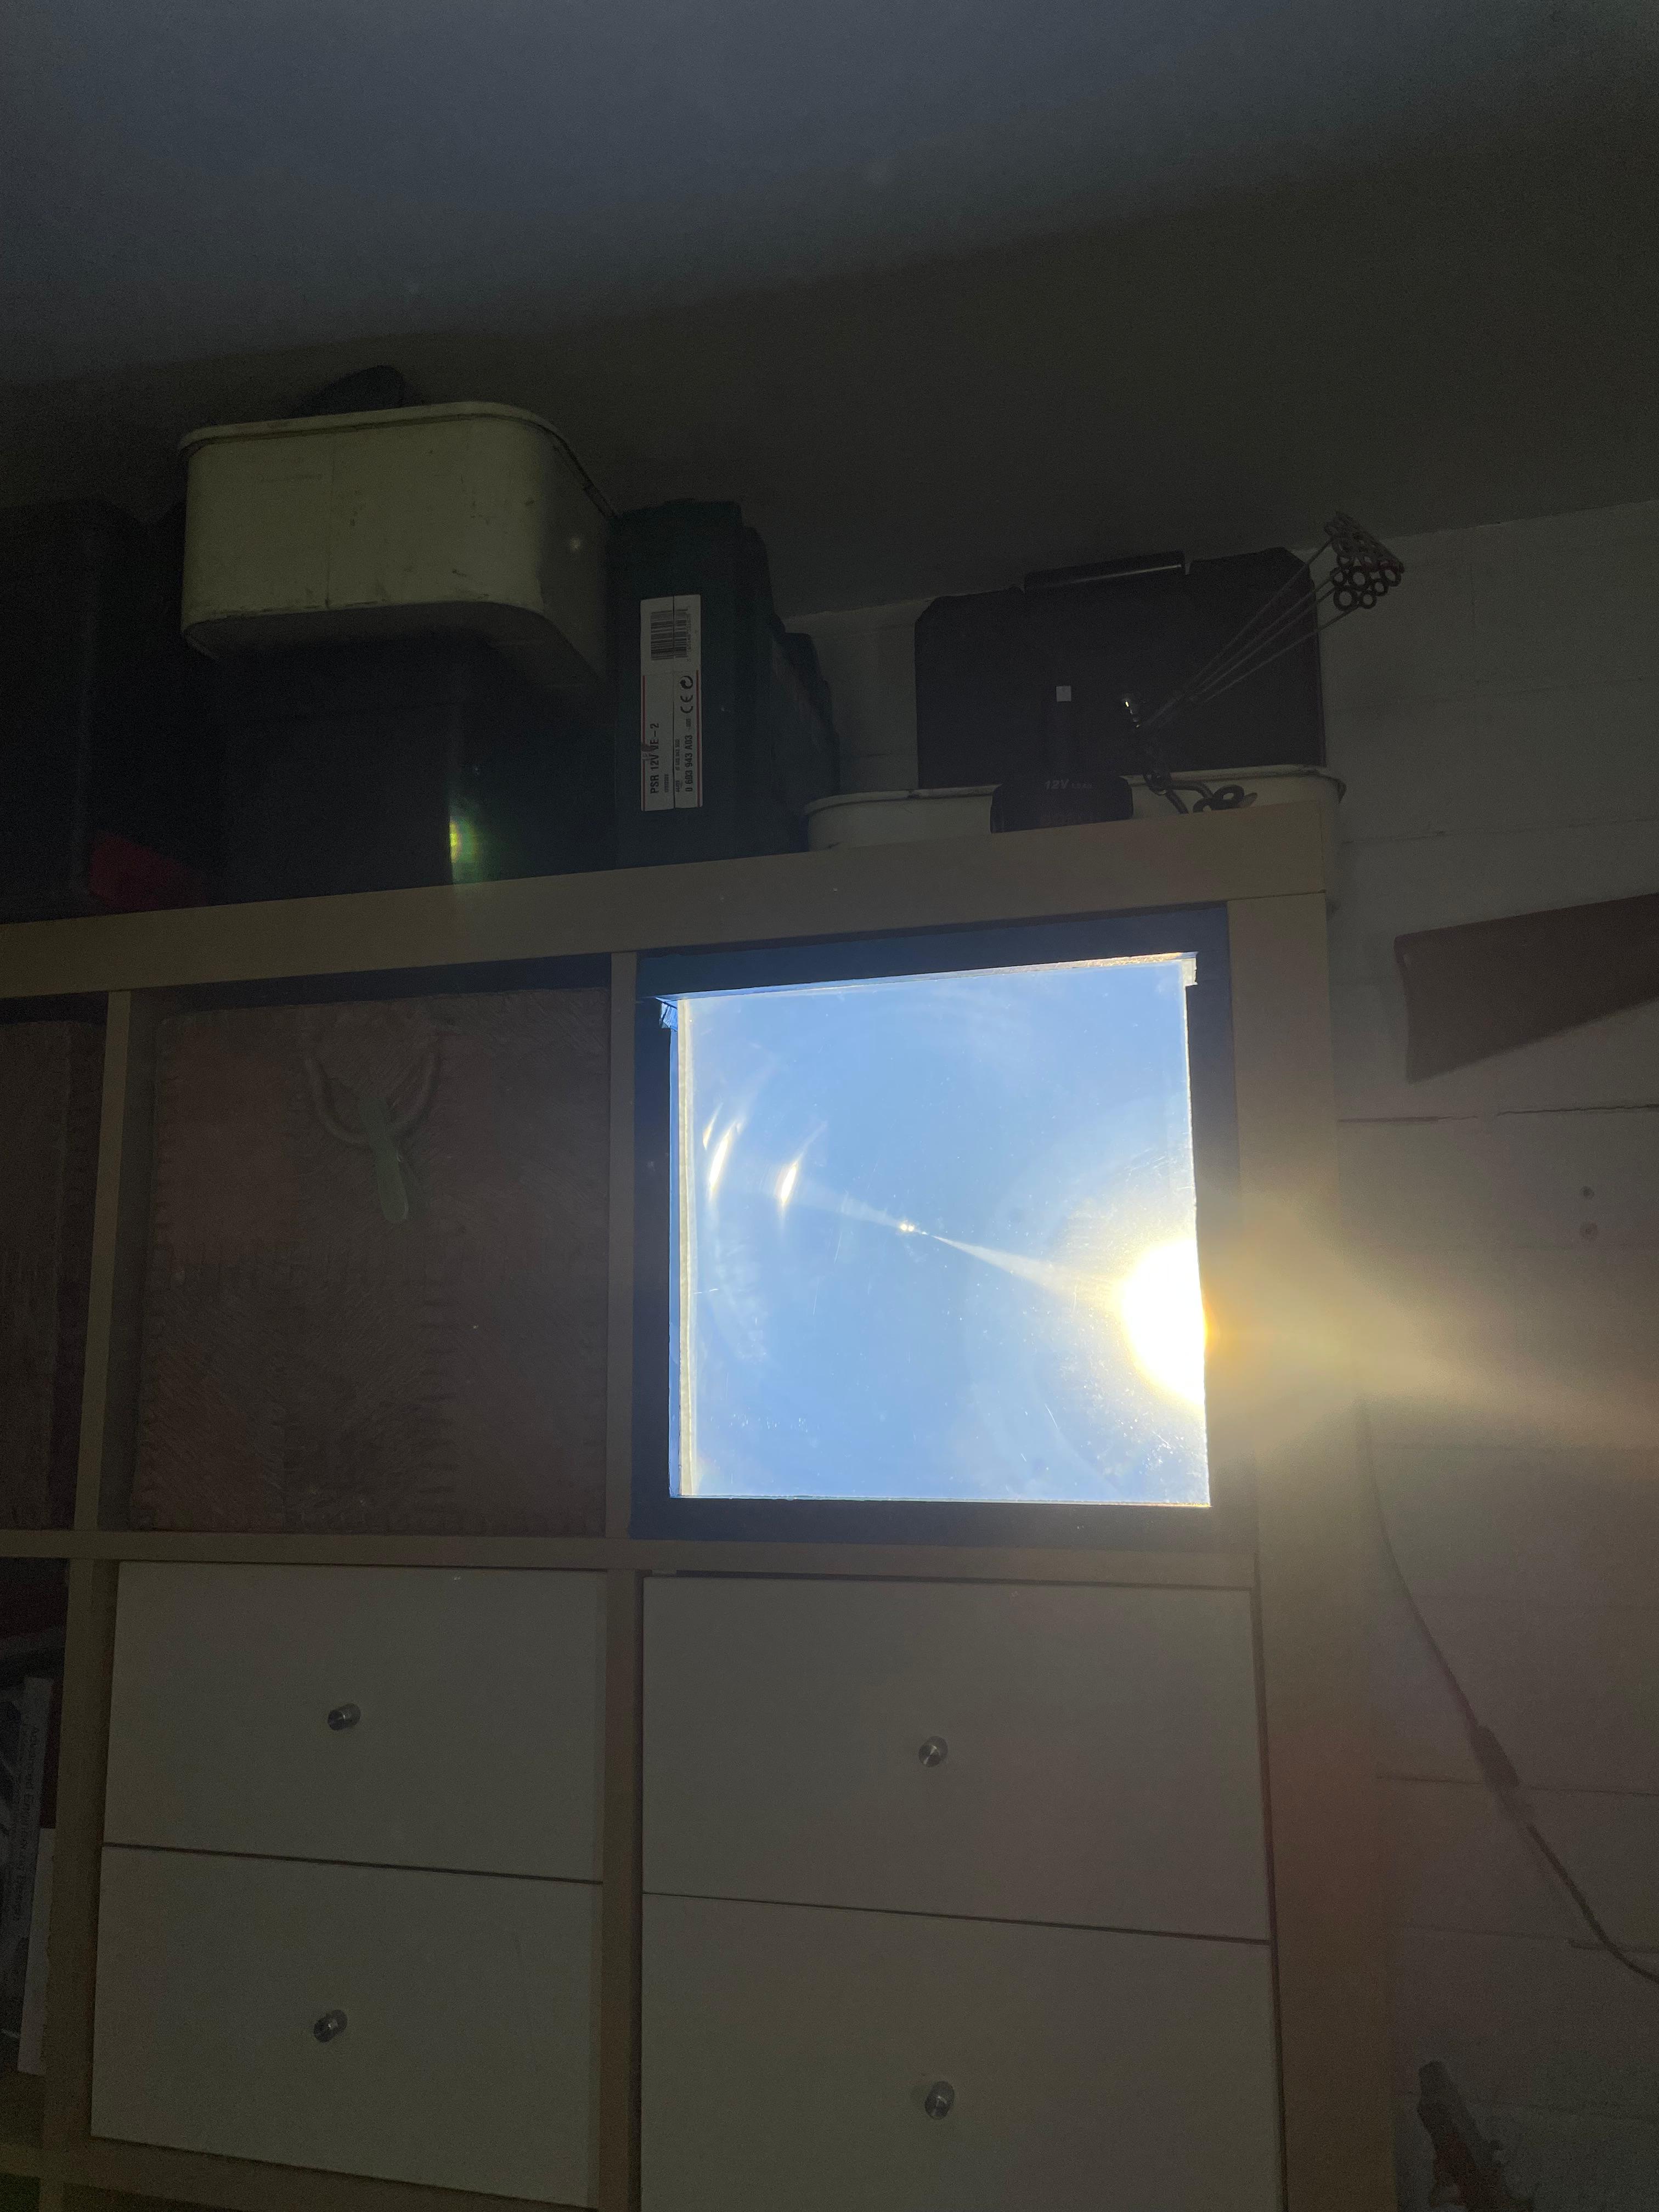
Results
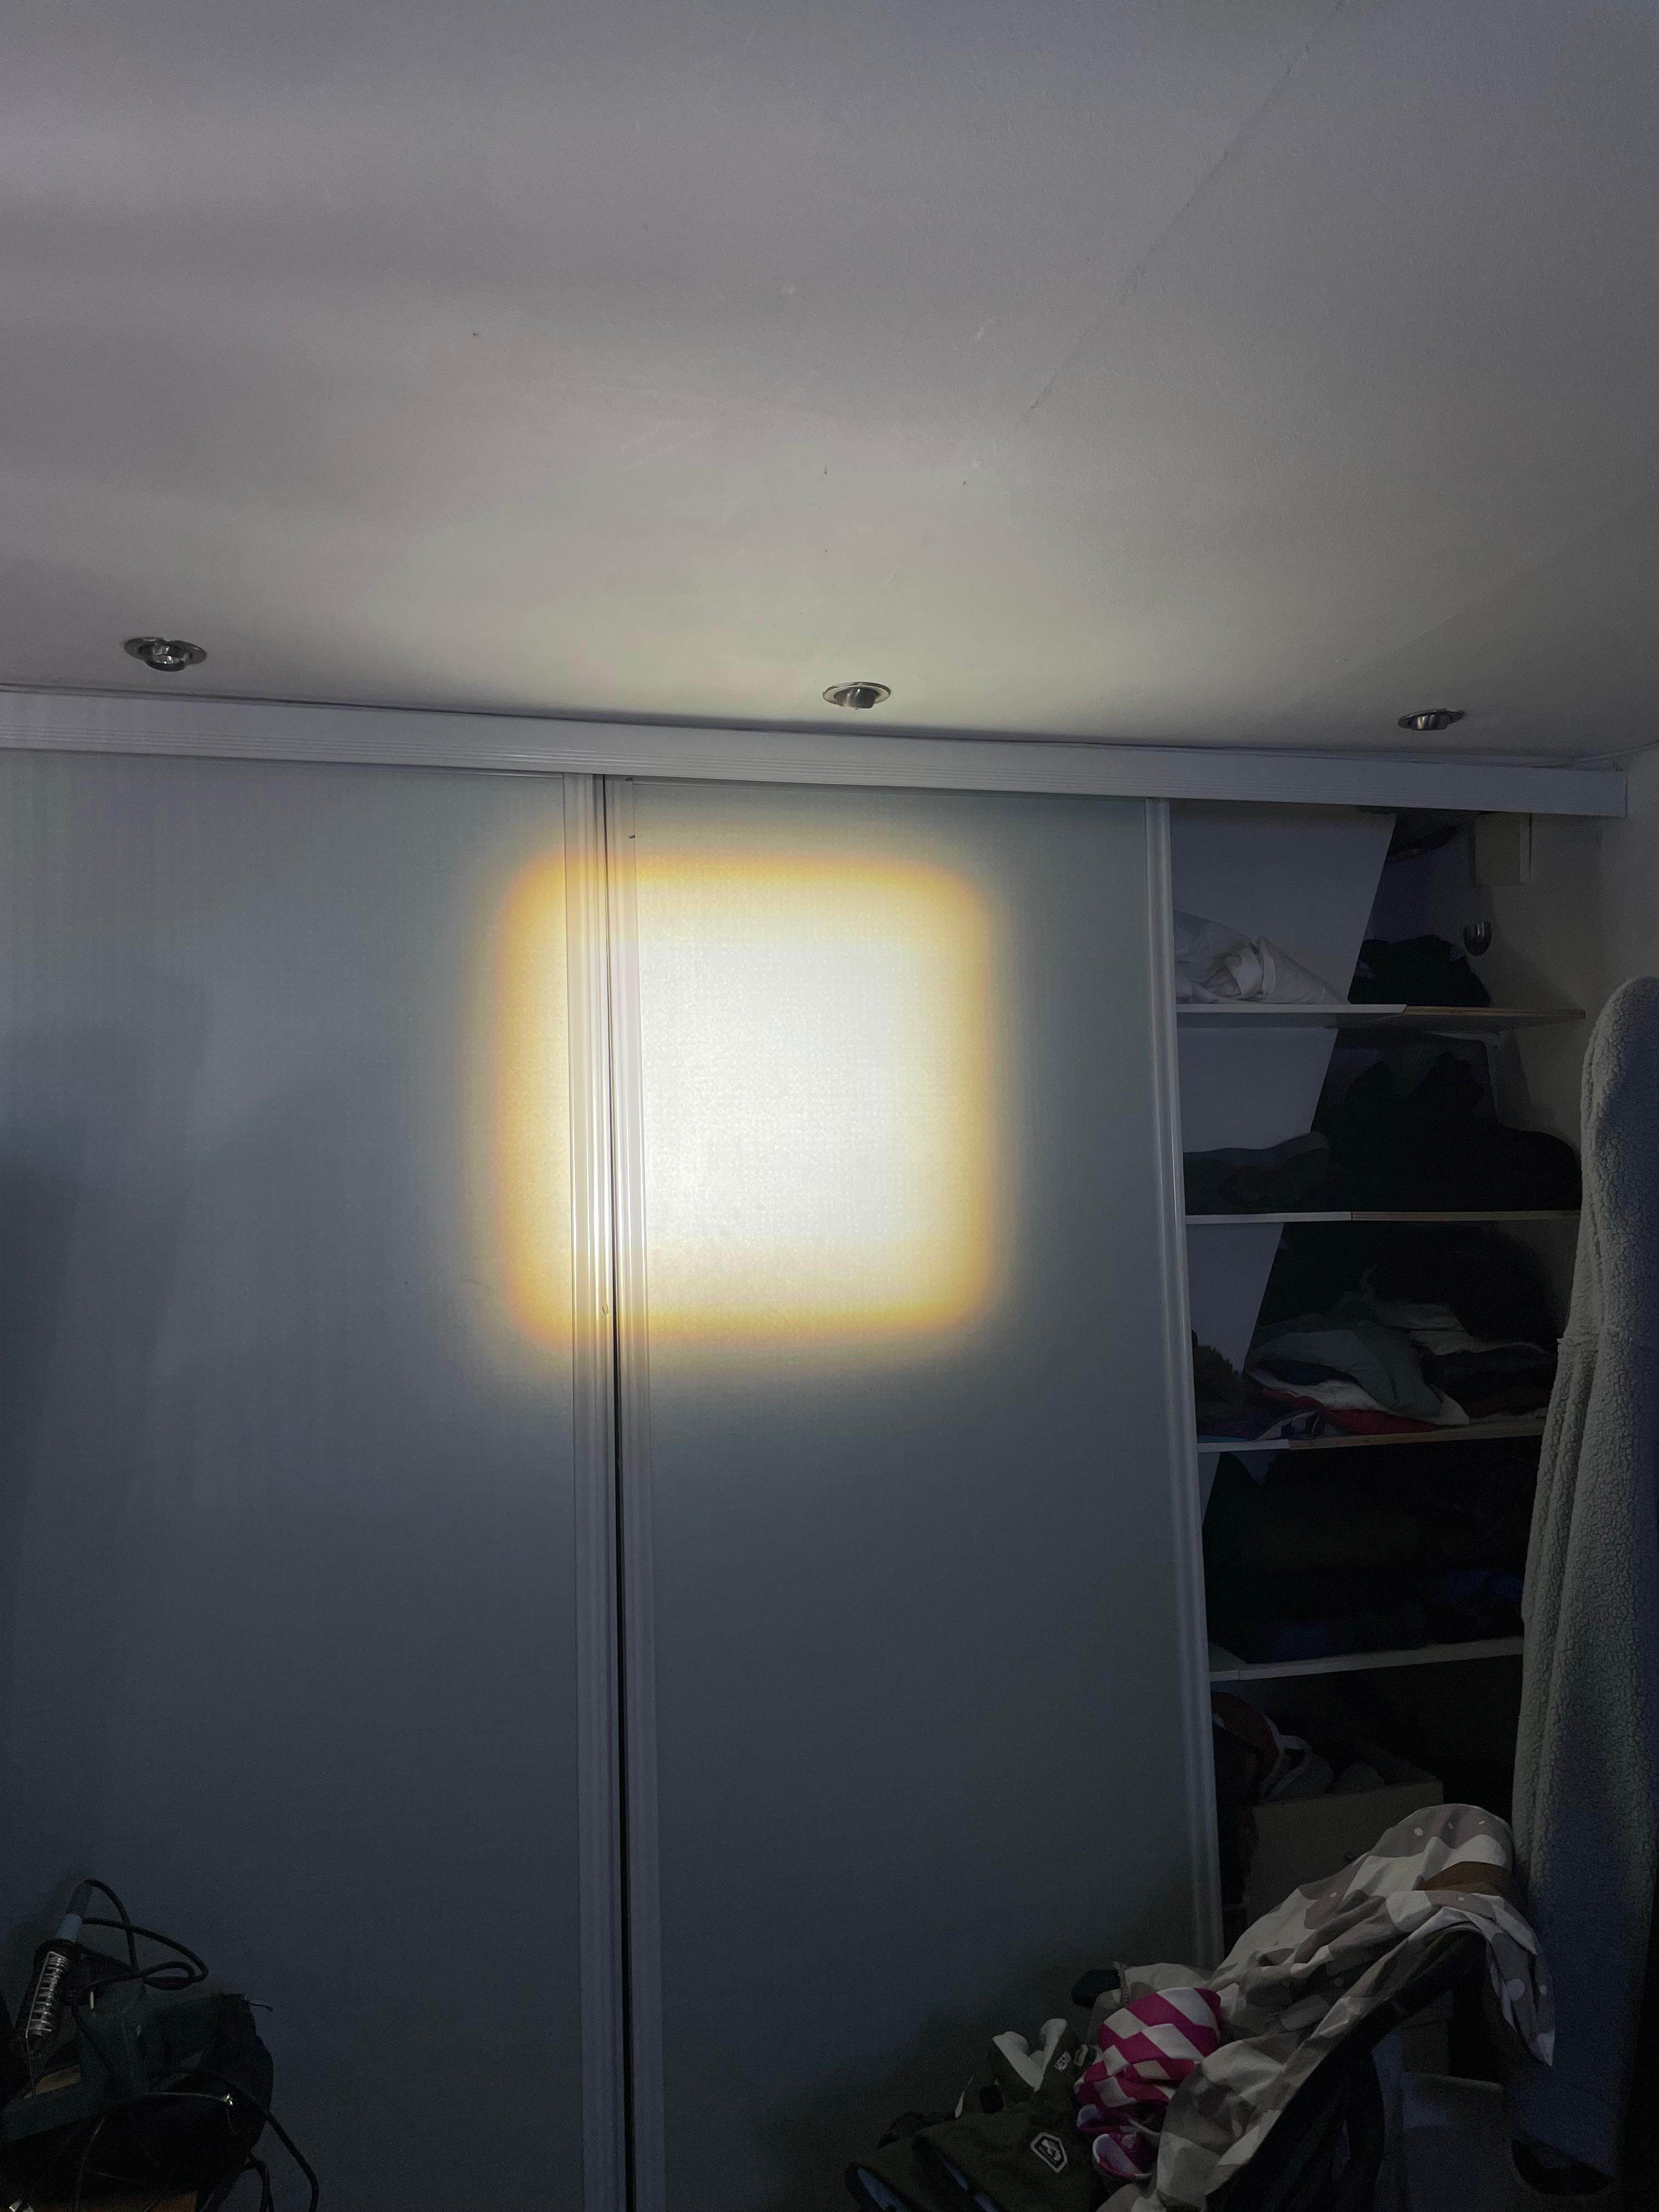
Looking in the beam in an unlit room creates a pretty convincing illusion. There is some aberration around the edges of the light, but the light was surprisingly uniform in other parts of the image. The light has a yellowish tint and a blue hue around it thanks to the box paint and the inkjet paper. It looks convincing enough to help waking up on a dark evening.
Energy use isn't the best. Of course 20W for a lamp that gets focused into one beam isn't efficient for lighting up your room. But turning it on for a few minutes in the morning? No problem. Considering an electric kettle takes around 2000W (100x) of power, it's not bad.
What I'd Do Differently
The Fresnel lens produces some artifacts at the edges, which is likely chromatic aberration from the imperfect lens. A higher quality lens would reduce this, but probably not prevent it outright. The housing could also be more elegant; the box is functional but not attractive.
A dimmer control on the light would be useful for lower-intensity "morning sun" vs "noon sun" modes, since the current setup runs at fixed brightness.